Tuesday, 31 March 2015

PAPER BALL : GEODESIC SPHERE

Paper ball construction using equilateral triangles is a geodesic sphere. Equilateral triangles can easily be derived from circles, and the variation in number of circles leads to variation in shape and volume of the geodesic spheres.


HOW TO MAKE IT


  • Use thick or stiff colorful papers for circles
  • Compass to draw circles of same size on paper sheets.
  • Ruler to measure equilateral triangles
  • Pencil for marking
  • Scissors for cutting circles from paper
  • White glue for pasting flaps of circles 
  • Elastic string and long needle to hang the ball

Follow step 1 to 9 for cutting & folding the flaps with triangle crease lines quickly.


•PAPER BALL : 8 CIRCLES

Fold the three flaps of each circle upwards and glue flap of one circle to that of another. Now join one of the remaining unglued flaps of first circle to one flap of third circle using glue.
Repeat the step with the remaining four circles. Glue the free flaps of the two hemisphere to finally compose the geodesic sphere using eight circles.


•PAPER BALL : 10 CIRCLES


Each halve will be prepared by using five circles applying the above mentioned procedures, and eventually both halves will be glued at the free flaps.


•PAPER BALL : 20 CIRCLES

After having followed the same step as needed to make two spheres of geodesic spheres using 5 circles each, remaining ten triangles will be pasted separately to form a chain of flaps. Now glue the two halves on alternate side of the chain of free flaps, to compose a sphere of twenty circles.


•To explore many more variants of paper ball designs, flaps of triangular shapes can be glued inside out.
•By using glitters, stones, mirrors, perforations, colour blocking etc, the geodesic sphere could be embellished to a more customised exploration of shape and form.
Tuesday, 17 March 2015

TEACHER TRAINEE & WORK EXPERIENCE (CRAFT)

Education at all stages has been regarded as a powerful instrument for social transformation. The major task of education in India today is to usher in a democratic, socialistic, secular society which prejudices among people. The objective of work experience is to help in realisation of these goals.
Today we are losing not only an ancient heritage but also an essential element in our social composition, which has been a strong cementing force. 
Work experience (craft) gives an opportunity to revive and keep active, the rich heritage and cultural traditions of our country and encourages creativity among students.


OBJECTIVE
  • Recognise and actualise one's own potential for creativity.
  • Develop a repertoire of skills in crafts.
  • Enable children to express their emotions.
  • Provide ways for promoting decision - making in children.
  • Use craft skills in education, in order to stimulate creative expression, imagination and generate confidence among children.
  • Revive an interest in Indian crafts and study their relevance in contemporary life.
  • Value and recognise the importance of local craft resources.
  • Develop an aesthetic sensibility relevant to Indian culture.
  • Inculcate values of social service and dignity of labour, co-operativeness, tolerance and dedication.
  • Develop an attitude of linking knowledge to practicality and productivity.
  • Respect/conserve nature and traditional indigenous knowledge.
  • Be creative in teaching and develop tendency to innovate, imagine and find solutions with minimal resources at hand especially in pedagogy and school organisation.


METHODOLOGY
  • Learning by doing after an initial demonstration.
  • Facilitate the process of learning, covering various media.
  • Allow everyone to explore their own creativity by being a facilitator.
  • Help students to draw linkages between specific activities and the teaching - learning process.
  • Use observations in better artistic works.
  • Encourage interaction and learning from peers.
  • Encourage individual efforts by using flexible approach.
  • Developing proactive approach.

Sunday, 8 March 2015

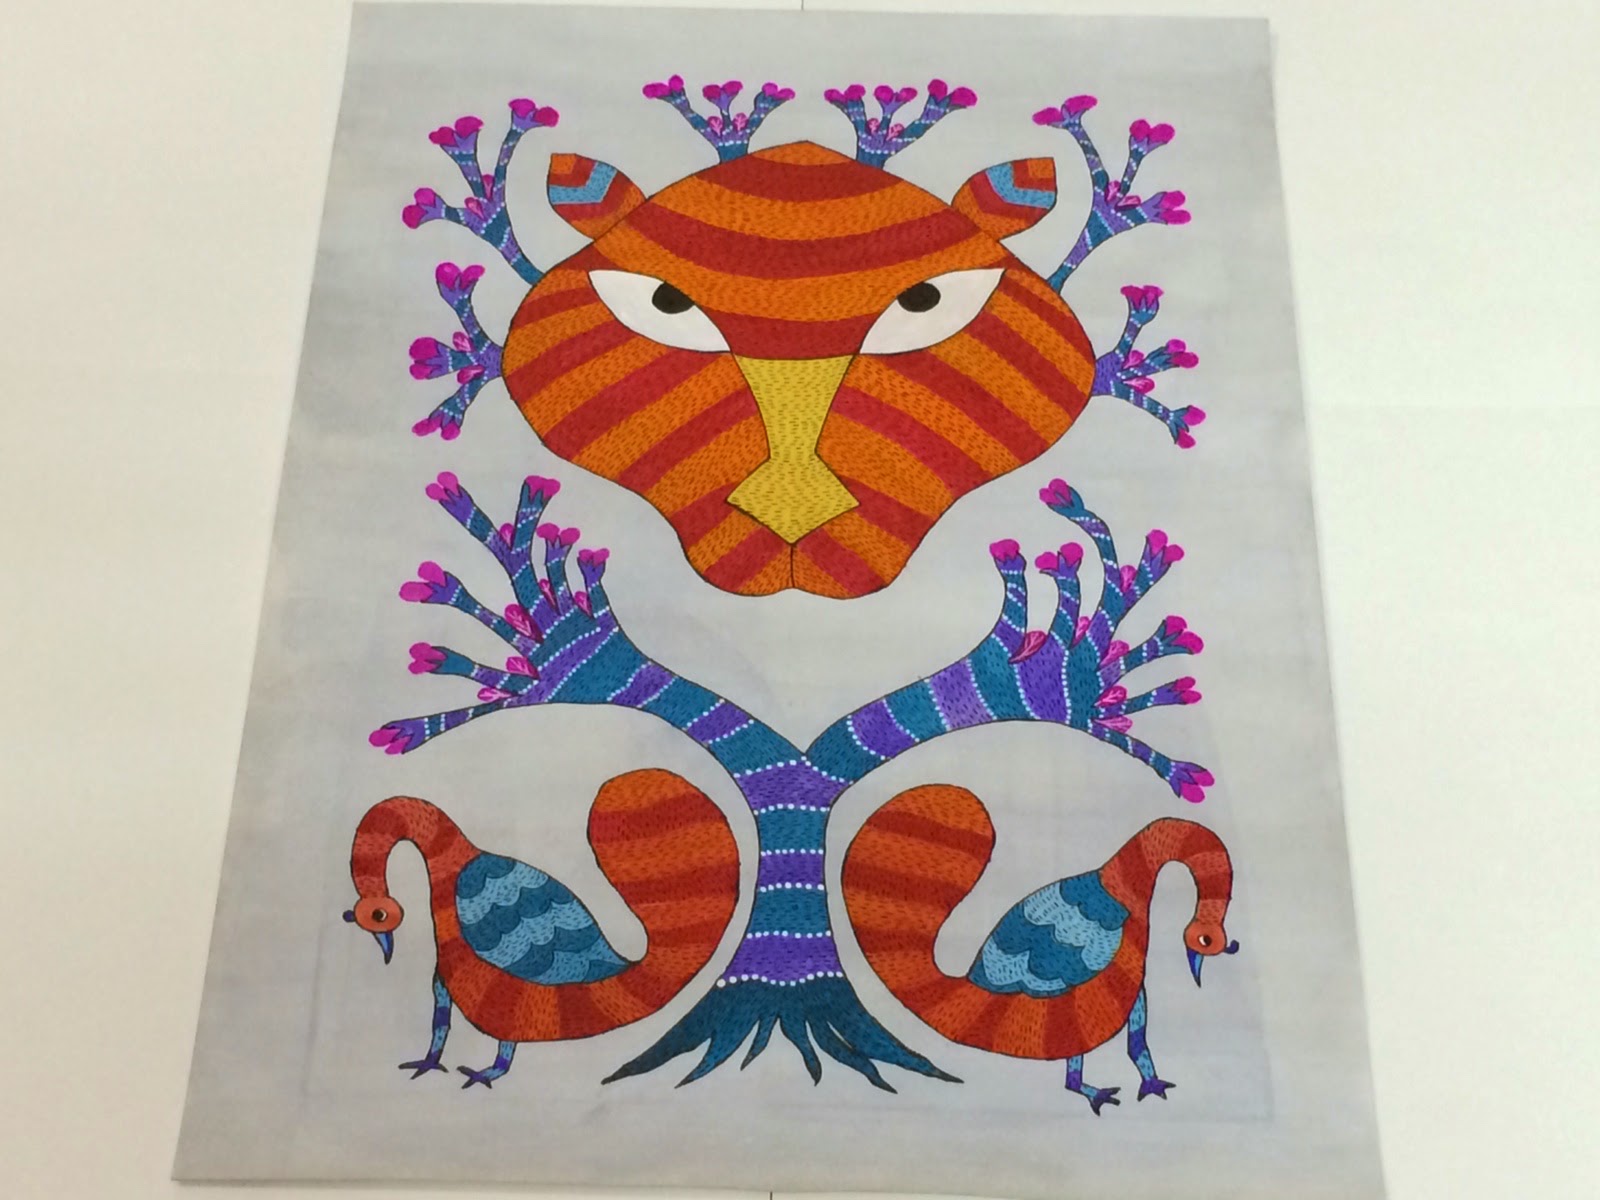
GOND : INDIAN TRIBAL ART


The tribal paintings of Gond Art, originally roots out of village Patangarh, Mandla district of Madhya Pradesh, where Pardhan Gond artists have been traditionally painting mud wall houses, drawing forms and symbols relative to their local community & native context.


Gond art is figurative without being realistic. The pattern gives an illusion of texture & movement in figures that are rendered flat while drawing objects that are radically different yet identically related to each other, much like the folklores. Gond paintings are a decorative vocabulary to the artist yet not narrative in nature.
As a mode of storytelling the, Gond art seems to be closer to traditional Indan forms of narration than to modern western ones, emphasizing upon sentiments & emotional state rather than events or episodes.


HOW TO MAKE A GOND PAINTING
  • Gond painting can be made on mud plaster wall, paper, canvas, wooden sheets, or clothes etc.
  • Poster color, acryclic color, waterproof ink, may be used as a medium.
  • As Gond paintings use a technique of creating textures by pattern, so artist select his signature stroke /gradiant patterns like __ __   or   __ .   or   __ . __  etc.
  • Start with an outline of the figures in painting, which is then filled with different block colors for a multi color painting. After drying the same colors, elaborate patterning by black color or any other color which gives their design a three dimensional quality.


Gond paintings have numerous themes including folk stories, nature, bird, animals, religion etc. The paintings could be flamboyant and colorful or could be in black & white in which the base should be white, while outline & filler pattern is black.


Jangarh Singh Shyam was the first Gond artist to use paper & canvas for his art, much after renowned artist J Swaminathan commissioned him to paint exploring paper & poster colors media. As a matter of fact, Gond paintings bear a remarkable likeness to Australian aboriginal art.


Thursday, 5 March 2015

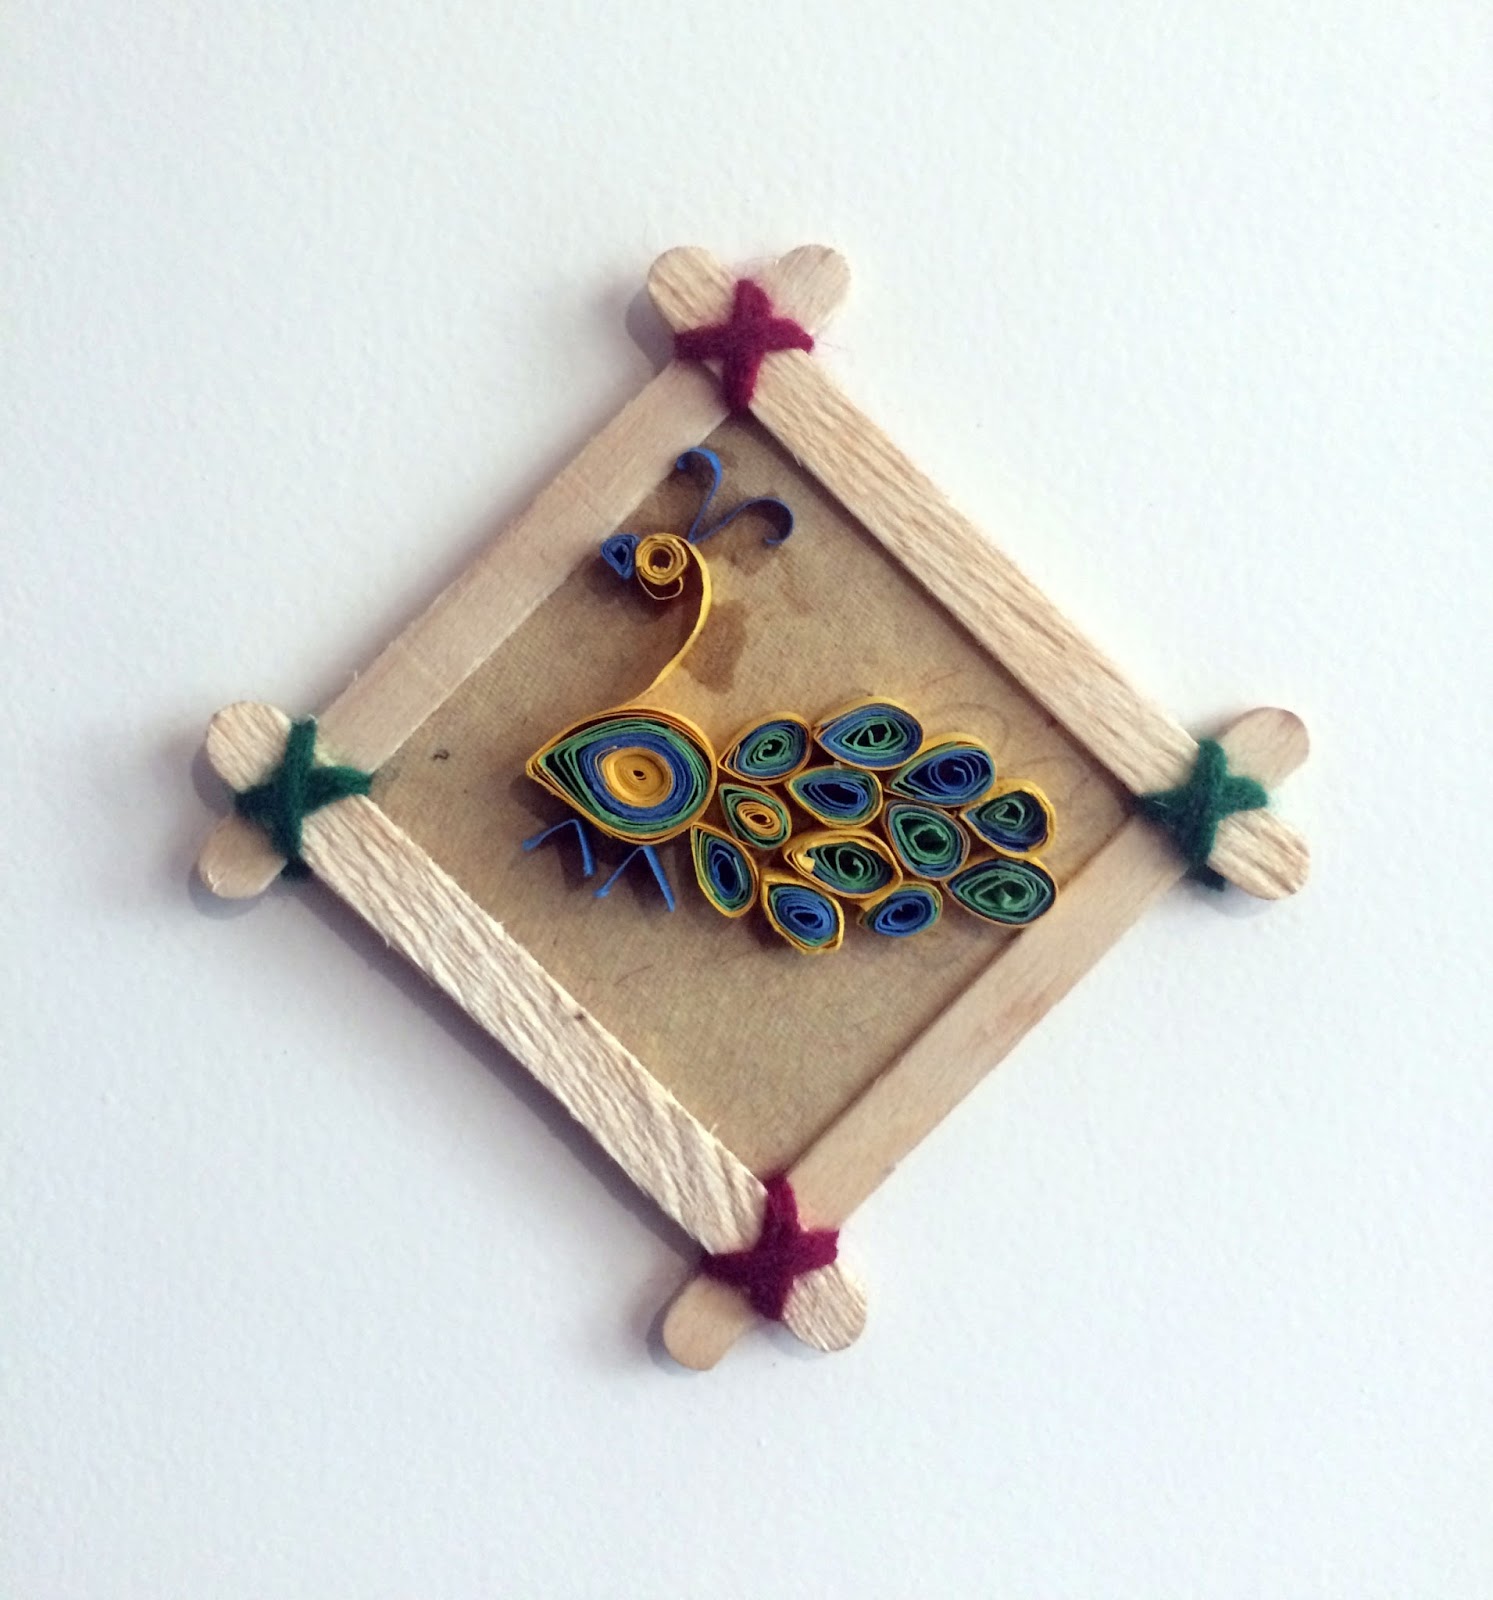
QUILLING : PAPER KINGDOM


Art has always been a legion tool for liberation of own's creative juices. And there is something absolutely charming and personal about paper art of Quilling, and it's still as impressive and popular now as it was during the Renaissance.


Basically, the Quilling process consists of cutting strips of paper, and rolling them with a special tool. It sounds simple enough, but special skill is required to create more advanced shapes like marquises, arrowheads or holly leaves. All through the years, the ART of quilling has remained almost unchanged, but new specialty supplies now allow quilling masters to create anything from detailed 3-D figures to wall-sized museum installations.


The paper is rolled, looped, curled, twisted and otherwise manipulated to create shapes which make up designs to decorate greetings cards, pictures, boxes, eggs, and to make models, jewellery, mobiles etc. The most popular and versatile technique is that of rolling. The paper strip is rolled in fingers or using a tool called a quilling needle. The coil is then released and shaped and then glued at the tip. These shaped coils are arranged to form flowers, leaves, and various ornamental patterns.


FORMS OF QUILLING


Wednesday, 11 February 2015

LEAF AND PETAL CRAFT


Pressed flowers preserve a moment in time. They evoke a remembrance of a special bouquet from a loved one that caught your eye in spring. They seem to keep summer alive almost forever.
Unlike a bouquet of dried flowers, pressed flowers are perfect for framing, placing inside a locket, or using as adornments for note cards, bookmarks, lampshades, wall hanging, table mat, etc. Here's how to make your own pressed flowers.
A shape is constructed by recalling his specific observations. This activity stimulates creative expression & imagination and also helps in learning of botanical aspect of leaves & petals.

Different figurines of flora & fauna could be iterated & scaled down using the pressed flowers & leaves, against a recalled observation, which not only grooms the imaginative & ideative skillset, but also helps with a deeper understanding of botanical aspects sans any embodiments to the raw structure of leaves & petals.

SELECTION
If you plan to create framed pressed-flower art, collect blooms and foliage at various stages of development to give your design a natural look. The better the quality of the blooms at picking time, the better they will look when dried and pressed.
For best results and the most vibrant colours, condition your blooms first.

CONDITIONING
Plunge the stems into water immediately after cutting, then hold the stems underwater in a sink and recut the stems at an angle to allow the greatest water absorption. Place them in a clean vase filled with water and floral food.

PRESSED FLOWER TECHNIQUE: BOOKS
The easiest method of flower pressing requires no special equipment other than absorbent paper and a heavy book or a pile of books. Pigments in the petals, stems, and leaves may stain the paper, so if the book is valuable, protect the pages with a layer of newspaper on each side of the plants being pressed.
Let the flowers dry for a week before checking on them. Allow two to three weeks for complete drying.

PRESSED FLOWER TECHNIQUE: IRON
Like the other method, this one begins with pressing the flowers between two pieces of absorbent paper.
Heat an iron to a low setting. Empty any water from the iron and do not add water. You do not want to add moisture with steam.
Prepare the flower for pressing by placing it between two sheets of absorbent paper. Flatten the flower with a heavy book first, and then press the warm iron on top of the upper sheet of paper for 10 to 15 seconds. You don't need to make a gliding motion as if ironing. Wait for the paper to cool for another 10 to 15 seconds, and then repeat. Check occasionally by very carefully lifting the paper to see if the flower is stiff and dry.


Monday, 26 January 2015

TRADITIONAL WORLI ART


India, an agrarian country & birth place to one of the earliest civilisations, is famous for highly animated lifestyle of natives. It wont be surprising to say, that the Indus civilization led to the birth of many tribes, and the tribes eventually led to different tribal arts, (as an expression of individuality through it). The tribal artist of India, paint as a part of their celebration of life, its various cycles, & the abundance of nature.
Worli Art, roots out of the Worli Tribe of Maharashtra., depicting vivid elements of the native tribal lifestyle. The art initially festooned the walls of rural community dwellings, by using rice flour paste on the mud surface.


The modern era has been marked with the Tribal Art exploring the contemporary mixed medias, as an advanced take on rice flour paste & mud surface.
Different Base alternates:
1) Wall coated with Clay ; Clay – Cow Dung Mixture (2:1)
2)   Primer/paint coated ply board
3)   Canvas ; Silk ; Cotton ; Jute
4)   Paper
5)   Terracotta pots/ plates

The ideal base color complementing the aesthetics of Worli Art is advised to be Mud, Brown, Black & White.
While, the color of medium could be White, Brown or Black, in accordance to the color of base.
Different Medium Alternates:
1)   Natural colors (using Kikar gum paste as fastness fixer)
White – Chalk Powder/Rice Paste;
Brown – Coffee Bean / Neem Bark Powder
Black - Soot
2)   Poster Color
3)   Water-proof ink
4)   Permanent Marker
5)   Acrylic Color


HOW TO MAKE A WORLI PAINTING.

1)   Select a theme, inspired from human routine (example morning ritual etc.)
2)   Deconstruct the selected theme.
3)   Try to doodle the elements post deconstruction (preferably free hand).
4)   Take cues from the wireframe used during Worli painting.
5)   While being conscious about base & medium, attempt to paint Worli figurines, predominantly highlighting the silhouettes of the chosen elements.