Monday 21 December 2015

PINE CONE CRAFT

Pine Cone Bird

MATERIALS YOU NEED:
1. Big Pine Cone
2. Thick Wire - Approx. 24 inches [length of the wire depends on the size of pine cone]
3. Plier
4. Potter's clay or modelling clay or M-Seal
5. Acrylic colours
6. Paint brush

HOW TO MAKE:
1. Bend the wire from middle to make a loop.
2. Mark & bend both the end points of wire at 6 inches with plier. This length is used to form the paws by turning wire three times at 1 inch length.
3. Wire loop is wrapped tightly two times on the middle of pine cone.
4. Cover the wire with clay so that it is not visible.
5. On the bigger side of the cone, dab white glue, and then make the neck & face of the bird.
6. Balance the bird on its legs. If needed, change the position of neck or legs or put more clay on the wire wrapped on the body of bird.
7. Support this clay part while its drying. It may take one or two days to dry off completely.
8. After drying, colour it with acrylic colours of your choice.

Explore and create new wonders.


Clay & Wire
Wire Looped Pine Cone ; Clay Neck
Acrylic Painted Birds
Walnut Shell Neck & Pine Cone Body
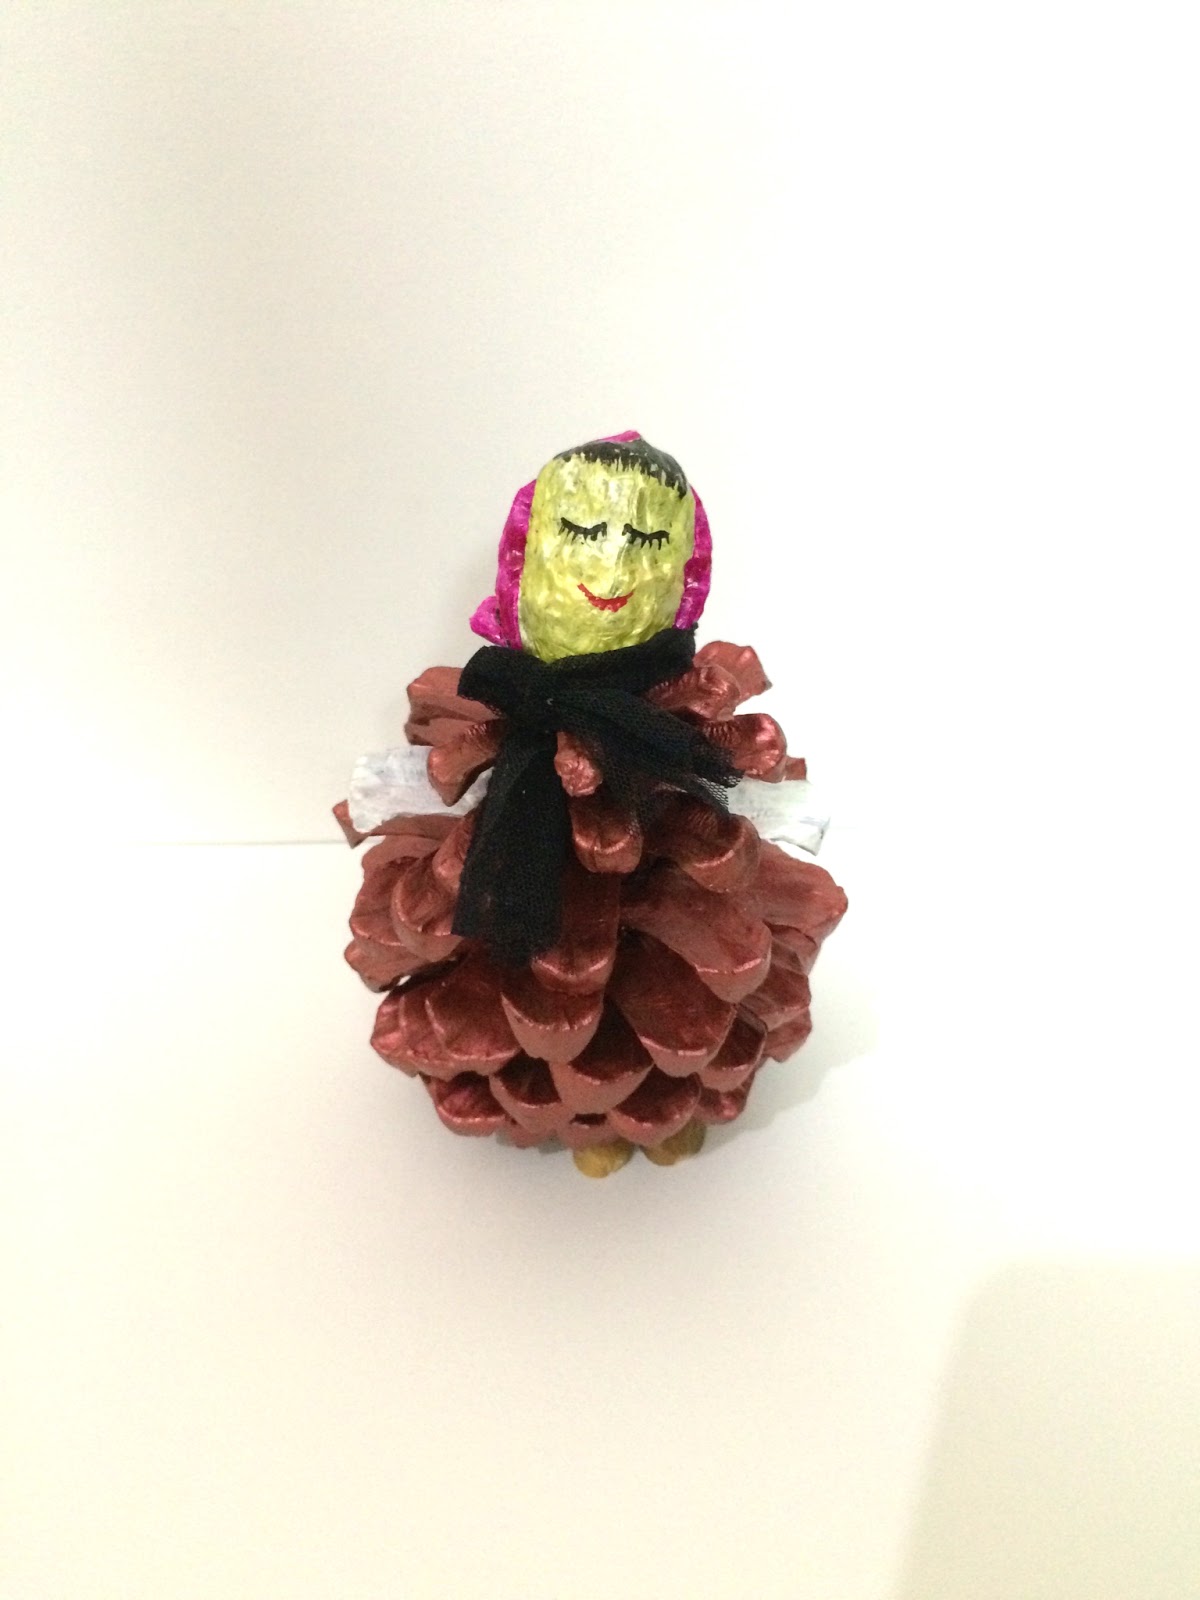
Pine Cone Doll

Pine Cone Tree


Friday 18 December 2015

BEST OUT OF WASTE PART I


MATERIAL YOU NEED:
Pistachio shell, date seed, ice cream spoons, white adhesive, acrylic colors, cardboard/ MDF sheet/ discarded compact discs.


HOW TO MAKE:
1. Draw a design on a white paper of the size of the base on which waste products are to be used.
2. Color the pistachio shells, date seeds & leaves (cut from ice cream spoons) as per the requirement with acrylic colors. Keep them aside to dry for 10 minutes.
3. Stick the materials together with white glue (craft clue).
Experience & explore different designs of your choice.

Saturday 15 August 2015

DR. APJ ABDUL KALAM … A TEACHER

Dr. APJ Abdul Kalam always used to say that he would like to be remembered as a teacher. He grabbed every opportunity to teach students. Administering a pledge on national development to the youth was his passion.
Minutes before his end came on Monday 27th July 2015, Dr. Kalam was teaching students at the Indian Institute of Management, Shillong.
“Teaching is a very noble profession that shapes the character, caliber and future of an individual… youth have a dream and also they have a pain. The pain comes out of their dream; they want to live in a prosperous, happy and peaceful India. This type of student’s environment ignites me and leads me to interact with young minds”, he said in an interview.
“One of the very important characteristics of a student is to question. A teacher should have a creative mind and encourage questions. At times, I find that teachers are in a hurry to finish the syllabus. But, there should always be discussion”, the former Indian President said during the course of the interview to national daily newspaper, The Hindu.

Retracing back to one of my memories about Dr. Kalam, on 22 December 2007, during the foundation week of CIE, Department of Education, Delhi University, where he delivered a lecture whose words have been etched upon my mind since then.
He summoned the prospective & existing faculty staff to commit themselves to his 11 commandments  for a proficient teacher.
  1.  First and foremost, I will love teaching. Teaching will be my soul.
  2. I realize that I am responsible for shaping not just students but ignited youths who are the most powerful resource under the earth, on the earth and above the earth. I will be fully committed for the great mission of teaching.
  3. As a teacher, it will give me great happiness, if I can transform, an average student of the class to perform exceedingly well.
  4. All my actions with my students will be with kindness and affection like a mother, sister, father or brother.
  5. I will organise and conduct my life, in such a way that my life itself is a message to my students.
  6. I will encourage my students and children to ask questions and develop the spirit of enquiry, so that they blossom into creative enlightened citizens.
  7. I will treat all the students equally and will not support any differentiation on account of religion, community or language.
  8. I will continuously build the capacities in teaching so that I can impart quality education to my students.
  9. I will celebrate the success of my students.
  10. I realise by being a teacher, I am making an important contribution to all the national development initiatives.
  11. I will constantly endeavour to fill my mind with great thoughts and spread the nobility in thinking and action among my students.

Friday 14 August 2015

CURATED CRAFT PART II

CRAFTapart attempts to offer a creative platform to its followers & fellow bloggers to showcase their work seeking inspiration from the content offered here, giving exposure & inspiration to thousands of new unique visitors everyday who come to discover creative work & reflect individuality from their work.

PAPER JEWELLERY

By: Anjali Gupta


PAPER QUILLING


By: Deepti Tandon
By : Anonymous

By: Monika Tanwar


MADHUBANI PAINTING


By: Deepak Kumar Verma

By: Anuradha

By: Rachna Kumari

By: Vinod Kumar

By: Shivangi Yadav
By: Bhawna


GOND PAINTING


By: Jyoti Arora

By: Anuradha

WORLI PAINTING


By: Anonymous

By: Vinod Kumar

LEAF PRINTING ART


By: Deepika Arya
 
By: Sandhya

By: Manish

By: Nikita Hatta

THREAD PAINTING


By: Prerna Sharma

By: Anuradha

LEAF & PETAL CRAFT


                                                 By: Vishva Mohan                                             By: Toko Appu


Saturday 9 May 2015

IMITATION FLOWER MAKING

Paper flowers can seldom rival the beauty of natural flora, yet have obvious advantage over the real thing. Paper flowers are cheap, quick to make, and can be colored to match any specific décor.
Very few tools are needed for paper flower making & none of it is expensive either. Moreover, for decoration of artificial flowers, fir cones, twigs, dried grasses and leaves, gift-wrapping ribbons, Christmas baubles, silver foil, dried flowers etc. can enhance the display.
For making paper flowers, adapt the designs; experiment with shapes and colors, invent your own flowers. Nature has given us many lovely inspirations, try and explore & evolve the same.

HOW TO MAKE:
Flowers can be composed of individual petals wired together to a stem. They can be long strip of crepe paper, scalloped and curled or just cut and then gathered together on a stem or just be glued individually on wires & assembled around a stem / stalk or by using wired shapes for petals & leaves.

MATERIALS YOU NEED:
  1. Scissor
  2. Plier
  3. Crepe paper or duplex paper
  4. Tissue paper, toilet paper, kite paper
  5. Pastel sheet or sketching paper
  6. Thin sheets of polythene
  7. Organdi fabric, or Thin starched cotton fabric
  8. Satin ribbon or gift-wrapping ribbon
  9. Stockings
  10. Plastic strips
  11. Green colour adhesive flower tape or strips of 5cm wide green crepe paper.
  12. Paper glue or transparent glue
  13. Thread or lightweight fuse wire (for binding)
  14. Heavy gauge wire (for stem)

  • MAKE YOUR OWN ROSE


STEPS FOR PETAL ARRANGEMENT
  1. Make a loop on one end of the heavy gauge wire (with cotton inside to hold the flower & petals around), covered with double layers of either organdy cloth or 1.5“ x 1.5” tissue paper. Tie thread around the covered loop, and secure with thread knots.
  2. The rose flower is a combination & arrangement of two sizes of square pieces as petals. Cut 5 pieces of 2” x 2” and 4 pieces of 3” x 3” of organdy cloth or tissue paper.
  3. The flower will have three circles of petals, wherein; innermost circle will have two smaller petals placed opposite to each other. The middle circle shall have the remaining 3 pieces of smaller petals, overlapping and placed equidistant. The outermost circle shall comprise of the 4 bigger petals, creating volume & symmetry.
  4. After having secured all the petals to the loop using thread, cover the thread and metal gauge wire using green adhesive flower tape or 1cm wide strip of crepe paper.

ORGANDY ROSE FLOWER


TISSUE PAPER ROSE FLOWER


  • MAKE YOUR OWN CHRYSANTHEMUM


STEPS FOR PETAL ARRANGEMENT
  1. Pile up 4 tissue papers, and cut the square layer in half.
    Restack the 8 layers of tissue papers (transformed from square to rectangle after cut), and make accordion fold of 2cm wide pleats.
  2. Hold the accordion pleat stack, using metal gauge wire while making a small loop (using plier) around the center of the stack.
  3. Trim the edges of the stack, in V–shape.
  4. Gently press and hold the center of the stack, before flipping 4 layers towards the stem downwards, whereas the other 4 layers towards the loop upwards (away from the lower 4 layers). Repeat the same flips on the other side of the stack also.
  5. Cover the stem & thread using 1cm width of green crepe paper, and dab of glue.
  6. Use different color tissue paper, and explore the shapes of petals using pinking shears to play with structure. One can also try to make variations of layer flips, as well as the layers used to make the stack.


  • MAKE YOUR OWN MARIGOLD
Method A
  1. Cut 10cm strip across width of crepe paper roll. And create crease line at 5cm after folding in centre.
  2. Over the widthwise folded line, make cuts into the 5cm strip with 3 cm depth at regular intervals of 2mm, over the complete length of roll.
  3. Once the fringes are cut, roll the strip over  stem of wire (with the fringes facing away from the stem).
  4. Secure the crepe paper fringe strip using thread, and put a knot to hold tightly.
  5. Stick the calyx to the back of the flower & cover the thread knot, & stem wire using green flower tape.


Method B
  1. Cut 6" strip across width of crepe paper roll.
  2. Make cuts into the 6" strip with 3" depth at regular intervals of 3mm, over the complete length of roll.
  3. Once the fringes are cut, trim the edges using pinking shears & roll the strip over  stem of wire (with the fringes facing away from the stem).
  4. Secure the crepe paper fringe strip using thread, and put a knot to hold tightly.
  5. Stick the calyx to the back of the flower & cover the thread knot, & stem wire using green flower tape.


Method C
  1. Cut 1.5" strip across width of crepe paper roll.
  2. Trim the edges of the strip using pinking shears.
  3. Using a threaded needle, pierce through the middle of strip width to form gathers.
  4. Gently slid the gathers to increase the volume, and tie the thread ends together, to make a circle.
  5. Cut 6 pieces of 1.5" x 1.5" crepe paper.
  6. Cut fringes 1" into the pile of 6 crepe paper squares. And, roll them over the stem wire, following a thread knot to hold together the paper.
  7. Slid in the stem wire through the gathered crepe paper ring, and secure the flower using dab of glue from the downside of flower. 
  8. Secure the crepe paper fringe strip using thread, and put a knot to hold tightly.
  9. Stick the calyx to the back of the flower & cover the thread knot, & stem wire using green flower tape.

  • MAKE YOUR OWN PLASTIC STRIP FLOWER


  1. Bend and make a loop of stem wire, holding onto a bunch of pollen thread tied together with a knot.
  2. To make the petals of the flower, cut strips of plastic coated metal wire (3 strips of 4” length will form one petal)
  3. Define the shape of the strip as shown in step 3 above, i.e., one middle fold, and two in U shapes.
  4. Secure the edges of the 3 stripes, together using thread, and arrange the multiple petals around the pollen stem wire. Also try to shape the petals by bending slightly.
  5. Stick the calyx to the back of the flower, and cover the stem with green flower tape using dab of glue.